To configure Authorize.net Accept.js payment gateway, you need to navigate to the payment gateways configuration page in Setup->Settings->Payment->Gateways and click on the Authorize.net Accept.js tab.
Public Key #
Before using Accept.js, you must generate a Public Client Key.
To generate the Public Key, log in to the Merchant Interface as an Administrator and navigate to Account > Settings > Security Settings > General Security Settings > Manage Public Client Key. If the Public Client Key does not yet exist, answer your security question to generate the key.
API Keys #
Login to your Authorize.net account and click on “Account” on the top right side.

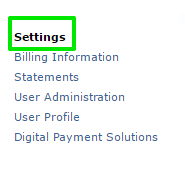
In the left menu Account area click on “Settings“

Click on API credentials area located in the security settings

You will need to get API Login ID & Transaction Key, your API Login ID will be displayed on the current page

To get a new Transaction Key, you will need to answer the security question at the bottom of the page below the Create New Key(s) section, check the “Disable Old transaction Key(s)” checkbox and press Submit.
Copy your API Login ID, Transaction Key, and Public Key then add them to the settings area for Payment gateways in Xodox CRM
Notes #
- Authorize.NET supports only 1 currency per account, in the currency field add only 1 currency eq: USD or AUD, etc..
- If you enabled test mode, read more here.
